Vibe Coder · Unit 15: Workflows With n8n · Lesson 4 of 6
Webhooks: your own API
A Webhook node gives a workflow a web address. Your app calls it and gets an answer back, which makes n8n the backend for a feature without writing a server.
Read the short notes and pictures.Do everything inside a blue frame.
From "when X happens" to "do this now"
So far your workflows react to events. A webhook lets your app start a workflow on purpose, with data, and get a result back. That turns n8n into the backend for a feature: your app’s button calls an address, the workflow does the work, and the answer comes back to the screen.
For a builder this is a big step. A feature such as "summarise this invoice", "score this lead" or "draft a reply" needs no server code of your own.
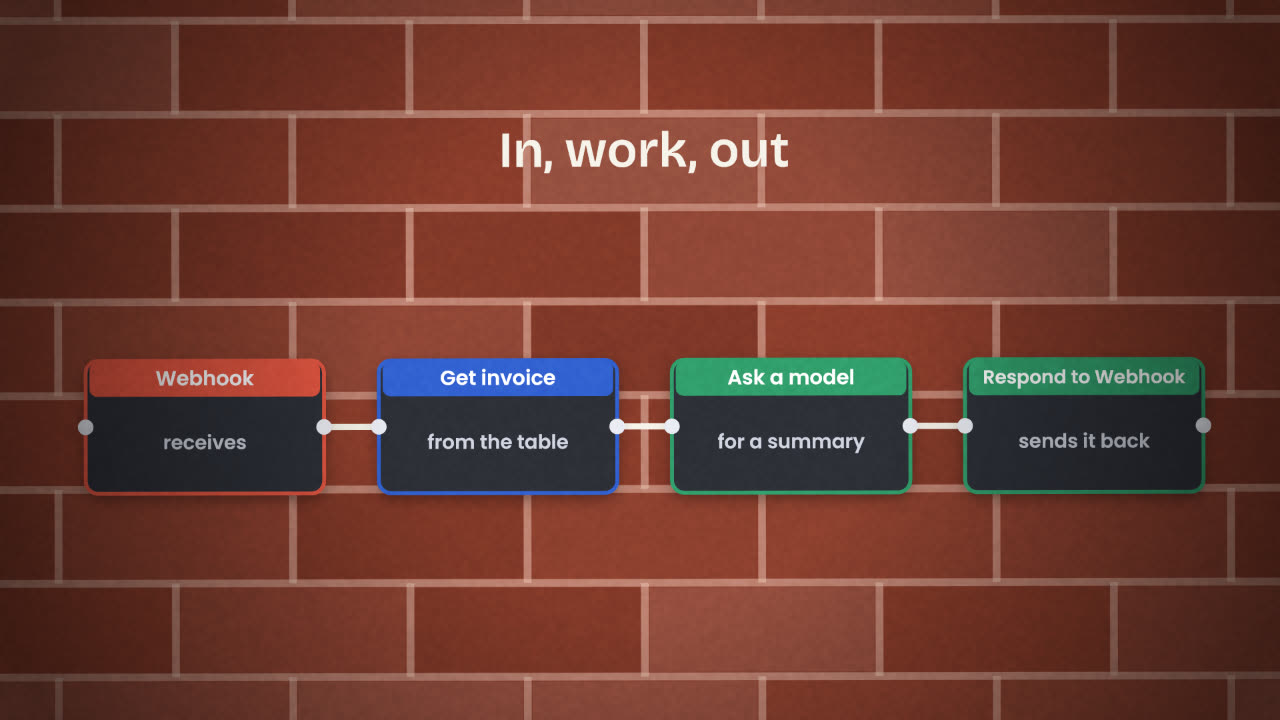
The two nodes
Webhook
A trigger node. It gives the workflow a web address and starts a run when that address is called. The data sent with the call becomes the item.
Respond to Webhook
Sends a reply to whoever called. Put it where the answer is ready. You choose what goes back, usually a small piece of JSON.
Calling it from your app
From the app’s point of view a webhook is just an API. You can ask your coding agent or app builder to "call this address with this data and show the result". Here is the shape of it.
The request
POST /webhook/summarise
x-api-key: (your secret)

{ "invoice_id": 42 }
The response
{
  "summary": "Invoice 42 to Acme Studio,
   $1,200, 9 days overdue.",
  "ok": true
}Test and production addresses
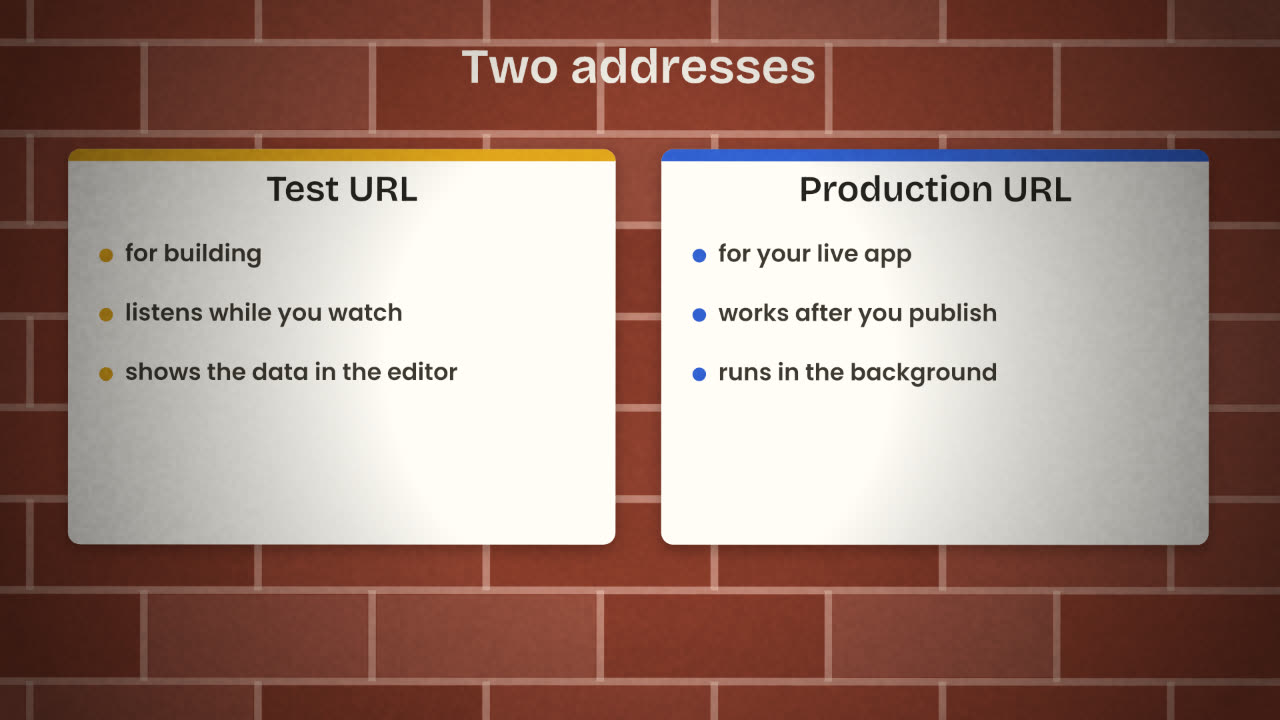
The Webhook node shows two addresses. The test address only listens while you are in the editor waiting for a call, and it shows you the data as it arrives. The production address works once the workflow is published. A common mistake is putting the test address in the live app: it works while you are watching and stops when you close the tab.
Securing it
Require a secret
Set up header authentication on the Webhook node, or check a header yourself in an If node straight after it.
Call it from your server, not the browser
Anything in browser code can be read by anyone. Keep the secret in a server function or your app builder’s backend.
Validate the input
Check that the fields you need are present and sensible before doing any work.
Limit the damage
A webhook workflow should do one narrow thing. Do not build one address that can do anything.
Your live app calls the webhook and gets no response, but it works every time you test it from the editor. What are the two most likely causes?
Give your product one webhook feature
Pick one feature your app needs a backend for. Build a workflow that starts with a Webhook node, does the work, and ends with Respond to Webhook. Protect it with a secret and call it from your app.
Done when
Write the request and response shapes down in a short file. It belongs in your repository beside the workflow JSON.
Keep these
- A Webhook node gives a workflow a web address.
- Respond to Webhook sends the answer back.
- Use the production address, and require a secret.