Vibe Coder · Unit 18: Email, Payments and Commerce · Lesson 4 of 5
Payments in India with Razorpay
If your customers are in India they expect UPI and local methods. Razorpay follows the same pattern as Stripe with different names: order, checkout, signature.
Read the short notes and pictures.Do everything inside a blue frame.
Pay the way your customers pay
A checkout that only takes international cards loses most Indian customers at the last step. People there pay by UPI, and also by cards, net banking and wallets, and they expect prices in rupees. Razorpay is a payment gateway built around those methods. Its docs list availability in India, Malaysia, Singapore and the United States.
The flow
Create an order on your server
With the amount, the currency and your own reference. Razorpay returns an order id.
Open checkout on your page
Pass the order id and your public key. Razorpay shows the payment methods.
The customer pays
On Razorpay’s checkout.
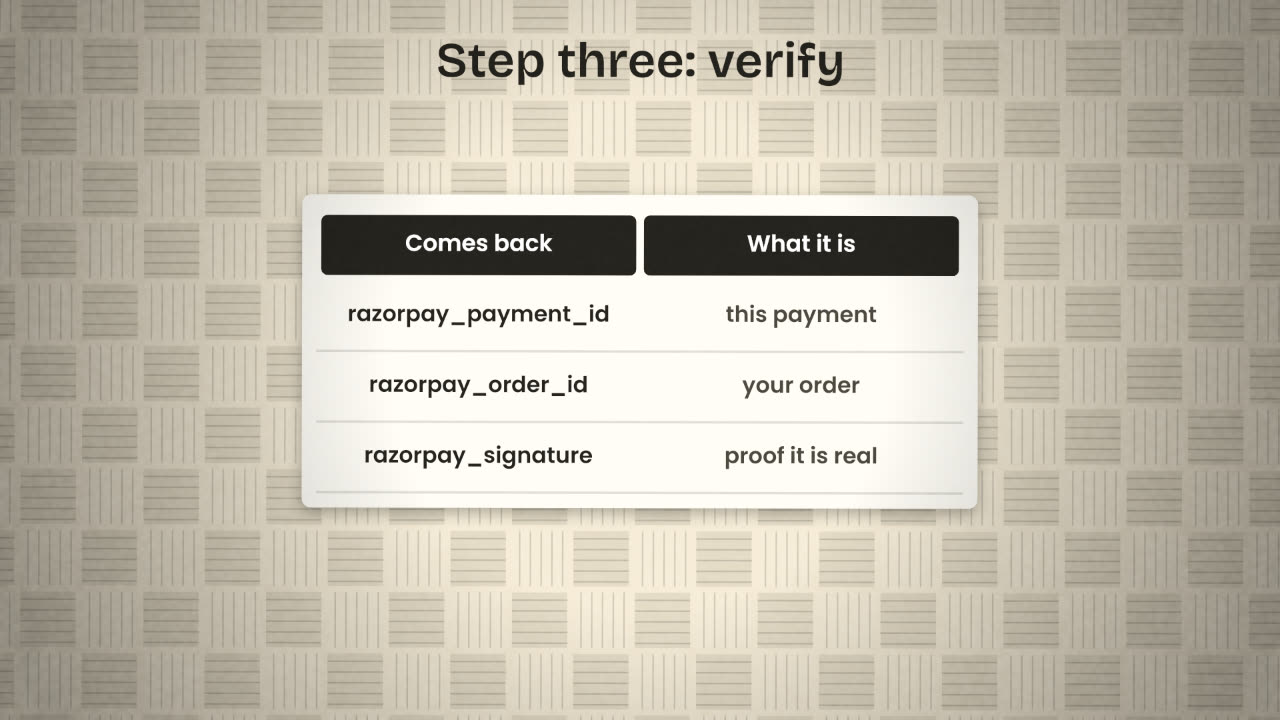
Three values come back
razorpay_payment_id, razorpay_order_id and razorpay_signature.
Verify the signature on your server
Before giving the customer anything.
Confirm the payment status
And set up webhooks, so you also hear about payments when the browser has closed.
The amount
The amount is given in the currency’s smallest unit, not in rupees. An amount of 49900 in INR is 499 rupees. Getting this wrong by a factor of a hundred is the classic first mistake, and test mode is where you want to make it.
Verifying the signature
Razorpay’s documentation describes the check precisely: make an HMAC SHA256 digest of the order id, a vertical bar, and the payment id, using your key secret. If your digest equals the signature that came back, the payment is authentic. Use the order id you stored on your server, not the one the browser sends back.
What your server computes
expected = HMAC_SHA256(
    order_id + "|" + razorpay_payment_id,
    key_secret
)
What it decides
if expected == razorpay_signature:
    mark the order as paid
else:
    reject it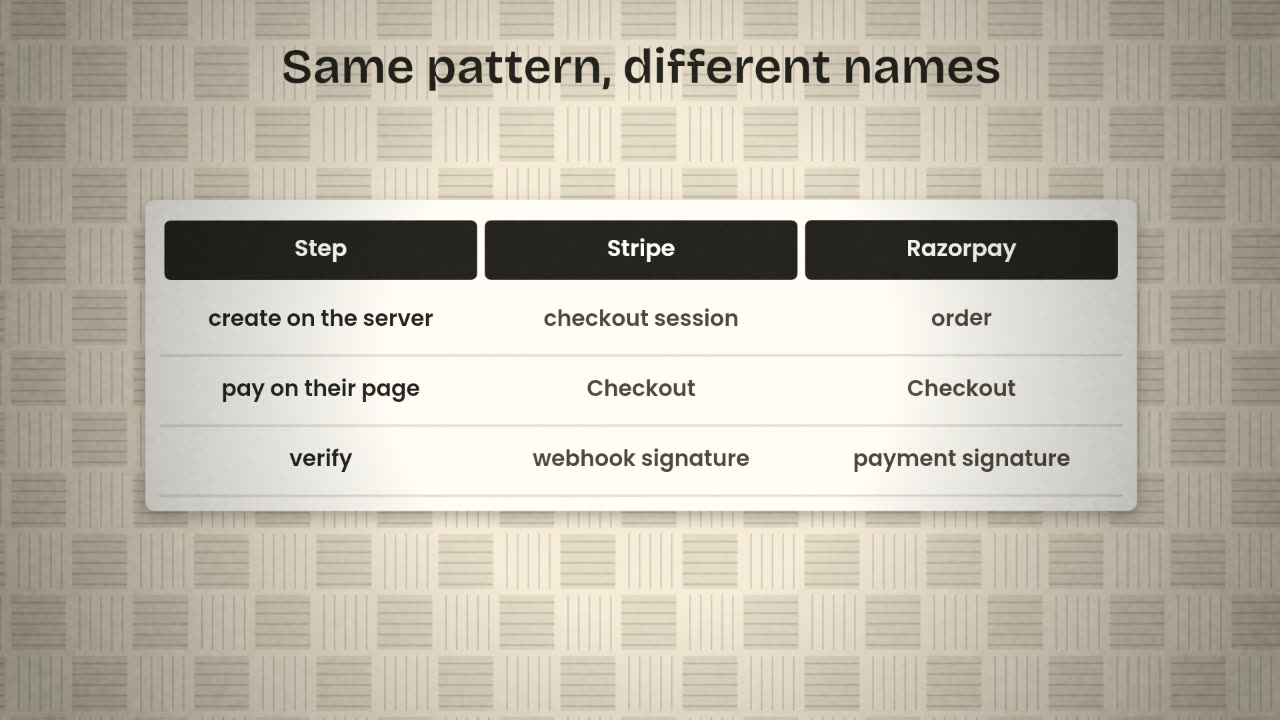
Test mode and going live
Test mode keys
Razorpay gives you Test Mode API keys. A mock bank page with Success and Failure buttons simulates payments; no money moves.
Live mode
Replace the test keys with Live Mode keys only after testing, and after completing Razorpay’s account verification.
Go-live checklist
Razorpay’s own list: switch keys, configure payment capture, set up webhooks.
No-code options
Razorpay also offers plugins for store platforms such as Shopify and WooCommerce.
A test payment of "499" charges 4 rupees and 99 paise. What happened and what is the fix?
Add a second way to pay, or decide not to
Decide whether your customers need Razorpay. If they do, add it in test mode: create an order on the server, open checkout, verify the signature, and update the user. If not, write down why and what would change your mind.
Done when
Whichever you chose, note it in your README under "Payments".
Keep these
- Indian customers expect UPI and local methods.
- Order on the server, checkout on their page, verify the signature.
- Amounts are in the smallest currency unit.