Vibe Coder · Unit 18: Email, Payments and Commerce · Lesson 5 of 5
Selling products with Shopify
If you sell goods rather than software, do not build a shop. Use Shopify for the catalogue, cart, checkout and orders, and connect your own site or app through the Storefront API.
Read the short notes and pictures.Do everything inside a blue frame.
Software or goods
The last three lessons were about charging for software: a plan, a subscription, access. Selling physical or digital goods is a different job. There are products with variants and stock, a cart, shipping rates, tax by region, order status and returns. Every one of those is a project. Shopify exists so that you do not build them.
Two ways in
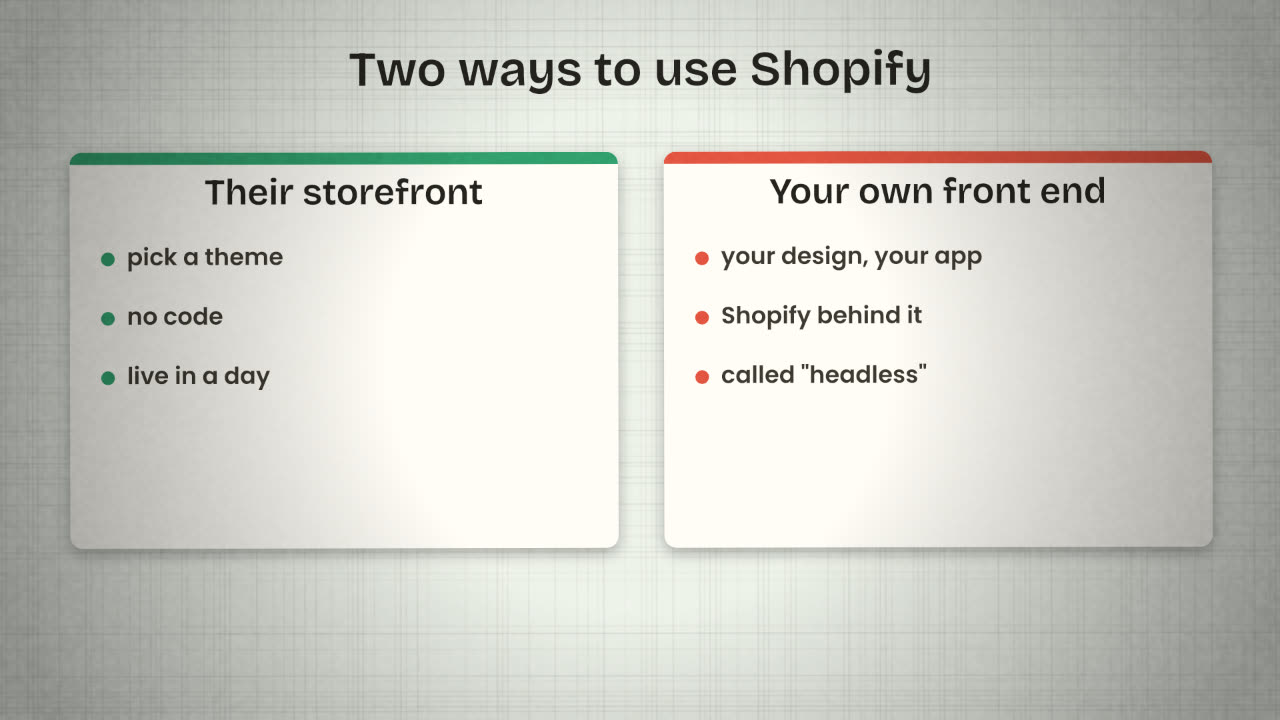
Their storefront
Choose a theme.
Add products.
Connect payments.
You are selling.
Your own front end (headless)
Your site, landing page or app shows
the products and the cart.
Shopify holds the catalogue, takes the
payment and records the order.
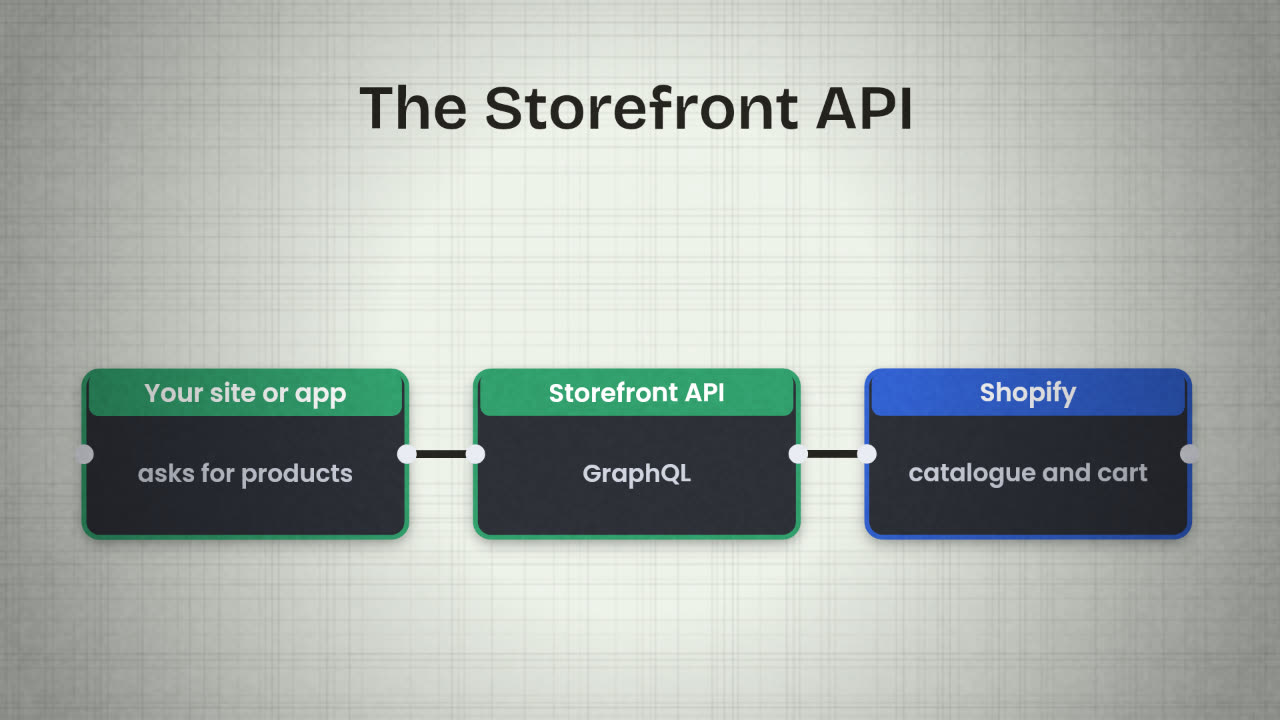
The Storefront API
The Storefront API is how your own front end talks to Shopify. It is a GraphQL API: you send a query describing the fields you want and get exactly those back. It covers browsing products and collections, managing a cart, and getting a checkout URL.
Tokenless access
Products, collections, search and cart can be read without a token, within a complexity limit.
Public access token
For browsers and mobile apps. Safe to ship in a front end.
Private access token
Kept secret and used only on a server.
Headless channel
Adding it in the Shopify admin gives you the tokens.
Hydrogen
Shopify’s own React framework for headless shops.
A query
query {
  products(first: 3) {
    nodes {
      title
      handle
      priceRange {
        minVariantPrice { amount currencyCode }
      }
    }
  }
}
What you ask your builder for
"Show the first three products from my
Shopify store on the landing page, using
the Storefront API. Add an 'Add to cart'
button that creates a cart and a
'Checkout' button that goes to the
cart’s checkout URL."
Checkout and payment
In a headless shop your site builds the cart, and when the customer is ready you send them to the checkout URL that Shopify provides. Shopify’s checkout takes the payment and creates the order. You never handle the card, as with Stripe. In India, Razorpay offers a plugin for Shopify.
Orders as events
Trigger on a new order
n8n has Shopify nodes. A new order starts the workflow.
Do the back-office work
Update a stock sheet in Airtable, message the team, create a shipping task.
Tell the customer
An order email through Resend, in your own voice.
Watch for failures
With the error workflow from the n8n unit.
You sell three printed posters and want them on your existing landing page, which is built in Framer or Lovable. Which approach do you choose and why?
Decide how your product sells, and publish the unit
If your product sells goods, set up a Shopify development store with two products and show them on your site through the Storefront API, with a working checkout link and a new-order workflow. If it does not, write why, and move on. Then push this unit’s work to GitHub.
Done when
Your product can now send email and take money. Keep everything in test mode until the launch unit.
Keep these
- For goods, let Shopify hold the catalogue, cart, checkout and orders.
- The Storefront API connects your own front end to it.
- New orders can trigger your n8n workflows.