Vibe Coder · Unit 7: From Idea to Prototype · Lesson 3 of 7
Prototype in Figma Make
Figma Make turns a prompt or a design into a working prototype inside Figma. Use it when the design matters most, copy the result back to editable layers, and push the code to GitHub.
Read the short notes and pictures.Do everything inside a blue frame.
A prototype where the design lives
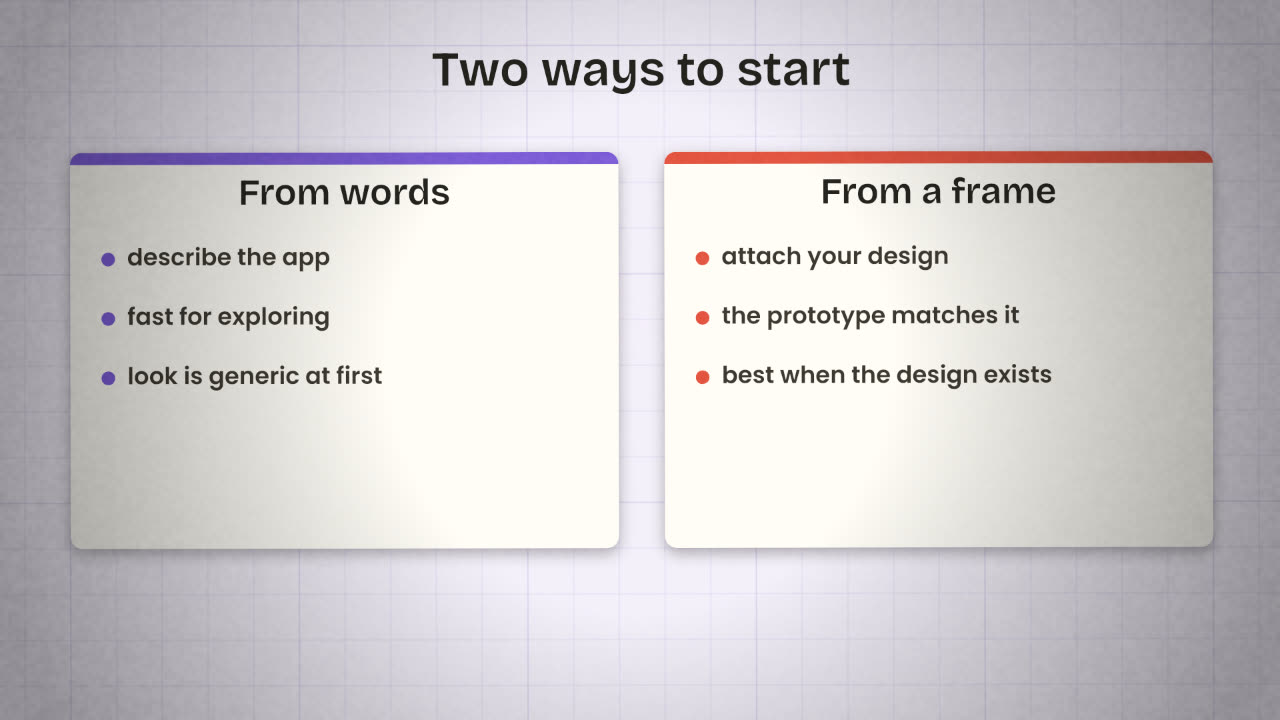
Earlier in this unit you built a clickable prototype as an artifact. If your design work already happens in Figma, there is a route that keeps everything in one place. Figma Make is Figma’s prompt-to-code tool: it builds functional prototypes and web apps from a description.
Working in it
Start with a prompt
Use the screen list from "Sketch the flow". Or attach a frame you designed so the result follows it.
Click through the preview
It is running code, not linked pictures: forms accept input, lists filter.
Refine by chat
One change at a time, naming the screen and what must stay the same.
Open the code
A code editor is there when you want to see or change what was written.
Copy designs
Copies the current preview to the canvas as editable layers.
Accounts and data
To let several people use the prototype with their own data, prompt Figma Make to use Supabase for account creation, login and per-user data. That is the same Supabase you will set up properly in the data unit. For a prototype, sample data is usually enough.
Sharing and code
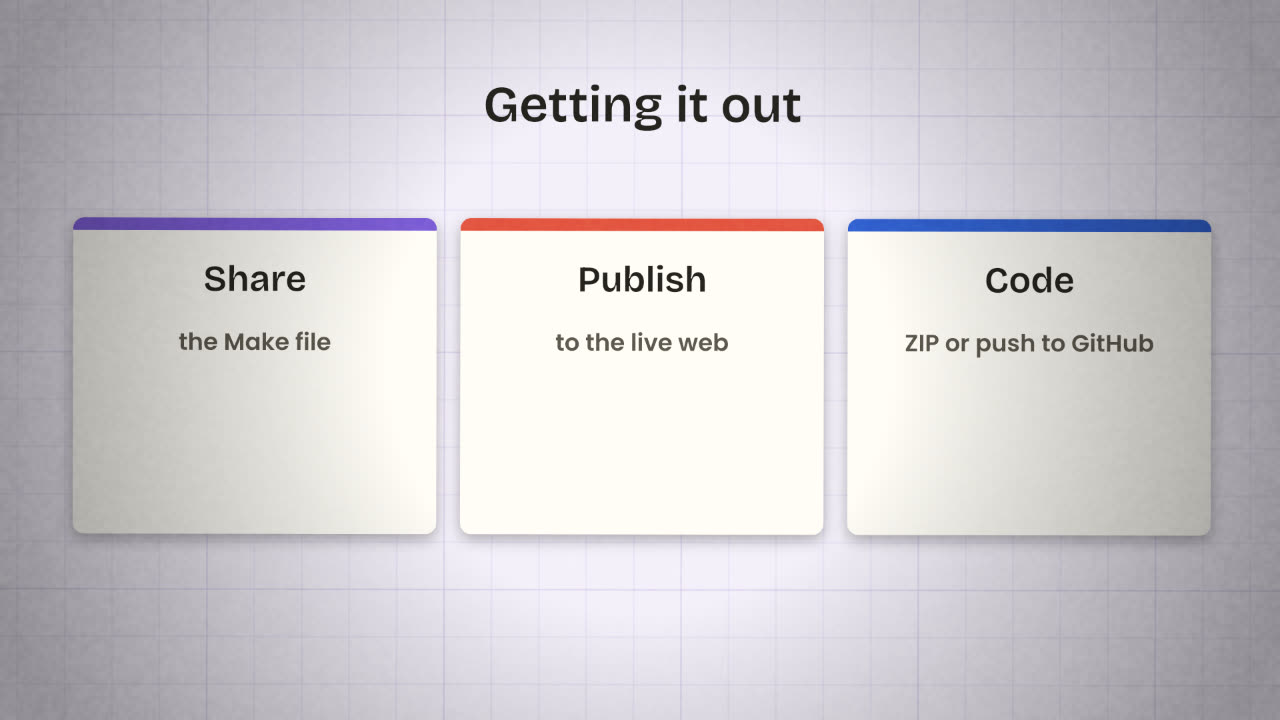
Share the file
With teammates inside Figma.
Publish
To the live web, or as a password-protected version for testers.
Download the code
As a ZIP from the code editor.
Push to GitHub
To a repository you own. Changes made outside Figma Make do not automatically come back into it.
Reach for Figma Make when
The look and feel is the question.
Designers need to iterate fast.
You are testing with users this week.
Reach for an app builder when
The data and logic are the question.
You want hosting, payments and
a backend in the same tool.
This version will become the product.
You tested a Figma Make prototype with five people and three could not find the "new invoice" button. What do you change, where, and how do you keep the design file in step?
Try your prototype in Figma Make
Build the main flow of your product in Figma Make, from your screen list or from a frame. Click through it, fix one problem, and push the code to a GitHub repository.
Done when
Use whichever prototype tested better, this one or your artifact, as the basis for the build brief.
Keep these
- Figma Make builds a working prototype from a prompt or a frame.
- Copy designs brings a screen back as layers, one way.
- Publish it, or push the code to GitHub.